Running Locally
After you have configured your project in Genesis Create, you can download it and build and run it on your own machine using your preferred IDE.
If you prefer a pre-configured cloud environment with a browser-based IDE instead, see Running on Genesis Cloud Workspace.
Before running your project locally, make sure you have installed all required dependencies on your machine. See the Required Software section below for details on what you need to install.
Downloading your project
When you have completed the steps in Genesis Create and reached the Summary page, please choose the Download project option.
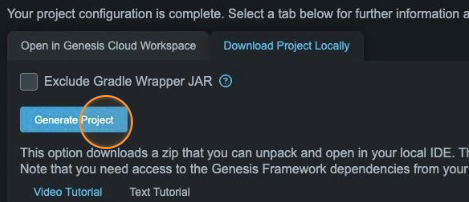
Some organizations block the download of binary files, such as JARs, for security reasons. Your Genesis project archive will include binaries like the Gradle Wrapper JAR to help automate and simplify the build process. If your organization's policies prevent you from downloading archives containing JAR files, use the "Exclude Gradle Wrapper" option when downloading your project. This will generate an archive without the Gradle Wrapper JAR, allowing you to comply with your organization’s restrictions.
Unpack and launch Genesis Start
Your project will be downloaded as a standard ZIP archive. Extract the contents of this ZIP file into any working directory of your choice and launch the Genesis Start utility:
cd /path/to/workspace

unzip ~/Downloads/my-application.zip

cd my-application/server

chmod +x gradlew*

./gradlew genesisStart
If you chose to exclude the gradle wrapper, you will need to download your own gradle distribution and run the gradle command above pointing to your local distribution.
You may download gradle from the following link or use your organizations approved gradle version 8.10.2 or higher:
/path/to/gradle-8.10.2/bin/gradle genesisStart
Build and start your application
This will start the Genesis Start utility which will help you manage your data-model and start and start all the microservices and web application for your application.
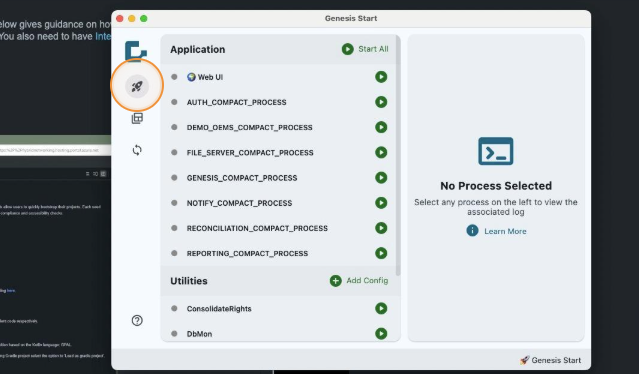
To build and run your project using an embedded database, simply click the launch icon. This will trigger a series of steps to:
- build the server and web UI projects
- boot strap your database
- inject the sample data and default roles and access permissions
Please note that the web UI project may finish and load into your browser before the server processes have completed building and starting. Please make sure no build steps are still running and click on each server process to view their logs and ensure they have successfully started.
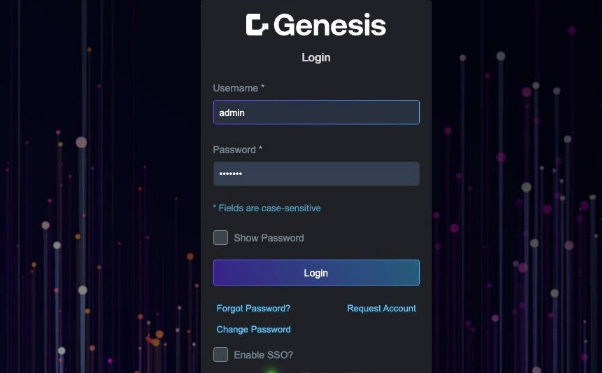
Login to your application
Once all services are successfully started, you can login to your application using the user and password below:
User: admin
Password: genesis
For detailed instructions on how to use Genesis Start, follow the Genesis Start documentation page: