VS Code Plugin (Genesis UI Generator)
The Genesis UI Generator is a Visual Studio Code plugin designed to enhance the development experience on the Genesis Platform.
You provide an image of the UI you want to create, and the Genesis UI Generator creates the code for a working UI, along with the files that enable you to add it to a new or existing application. This can be a major boost to productivity.
Requirements
- Visual Studio Code version 1.88.0 or greater.
- Install literally-html, which provides syntax highlighting and IntelliSense for html inside JavaScript and TypeScript tagged template strings.
Installation
-
To install the Genesis UI Generator, visit Genesis UI Generator on Visual Studio Marketplace. Click on
Installor search forGenesis UI Generatorin the extensions panel in VS Code. -
After installing the extension, the Genesis icon will be visible in the VS Code side menu on the left.
Configuration
Open your Genesis project (root folder) in VS Code before starting to use the extension features.
If the source folder path (src) is not found or is not correct, the Setup Genesis View button will be displayed:
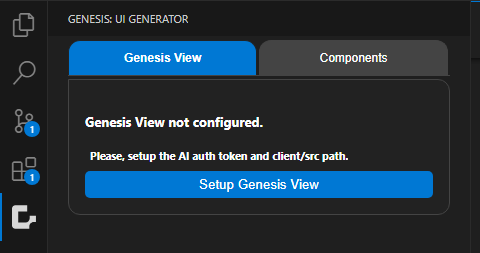
- Click on this button to open the extension settings screen. Here, you can configure the source folder path (
Client Src Path). You can also set theOpenAI API Tokento useGenesis View.
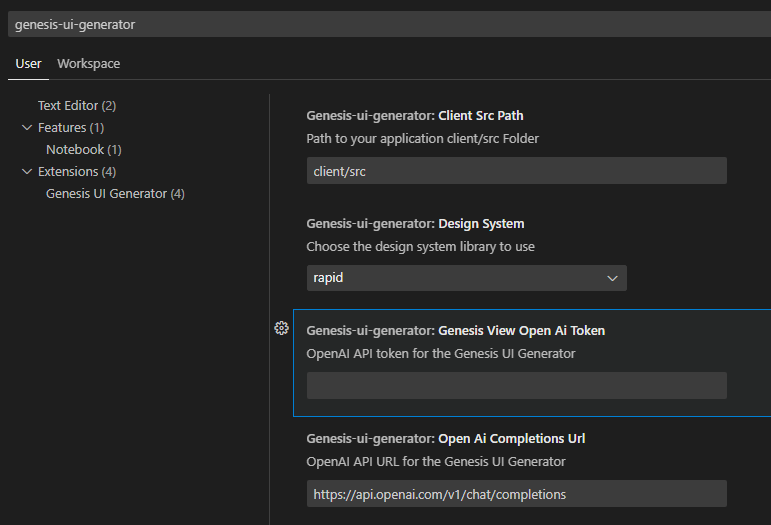
If you want to change these values at some other point, click on the Manage icon at the bottom left of the VSCode window and select Settings.
![]()
Then search for genesis ui.
Features
-
Genesis Viewuses generative AI to generate code from a screenshot/mockup UI. It can also generate all the files necessary to deploy the new code into an existing application, taking into consideration the design-system colors, fonts, and other visual elements identified from the screenshot. -
File Managementsimplifies the creation of newroutes,components,grid components, and other Genesis features. You can create files quickly and easily, following the Genesis Platform guidelines. -
HTML Catalogprovides an extensive catalogue of Genesis web components. You can simply click on a component in the catalogue to insert it directly into the VS Code editor, speeding up the development process. -
Design System Managementmakes it easy to define colours, fonts, sizes, margins, paddings, and other visual definitions of a UI implementation, using the Genesis design system. You can change a setting and see the effect immediately. This streamlines the process of creating a consistent and cohesive visual style throughout the application. -
Code Snippetsprovides an extensive catalogue of typeScript and HTML code snippets for the most-used Genesis web components and boilerplate code.
To use the full functionality of snippets and items from the HTML catalogue, install literally-html.
Using Genesis UI Generator
Once you have completed the configuration, you are ready to start using the Genesis UI Generator.
Genesis View
You need to start with an image of the design you want to create (.png, .jpg).
- Select an image (.png or .jpg):
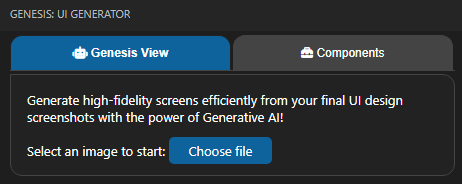
This displays the image in a new UI dedicated to Genesis View:
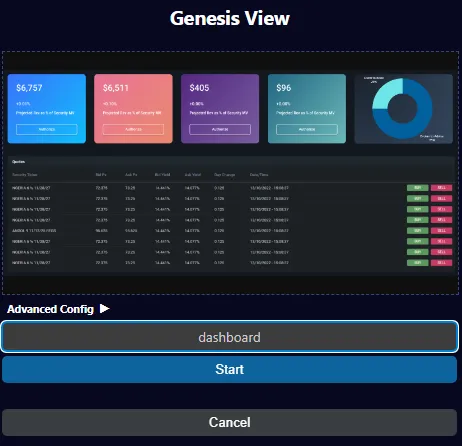
- Click on
Advanced Configto configure your generation:
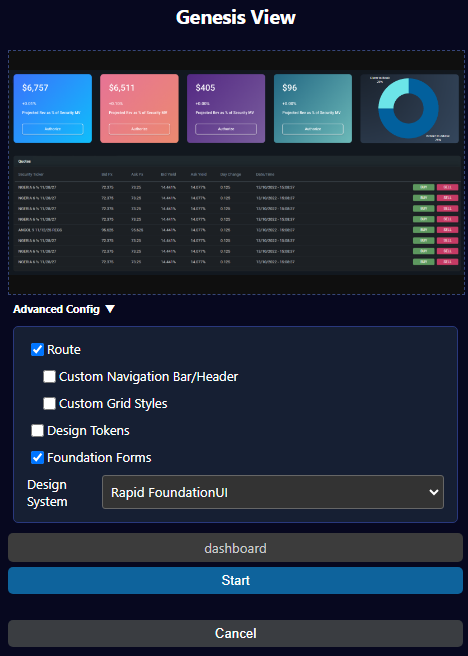
Routecreates a new route component with all the files (ts, template, styles) for the new custom UI.Custom Navigation Bar/Headergenerates HTML components for a header or navigation bar.Custom Grid Stylesgenerates a file that provides custom colours and style for grids in your Genesis application.Design Tokensgenerates or replaces the design-tokens.json file, managing the colours and theme of your entire application.
At present, Genesis View does not support React or Angular generation.
- When you have completed the configuration, click on
Start.
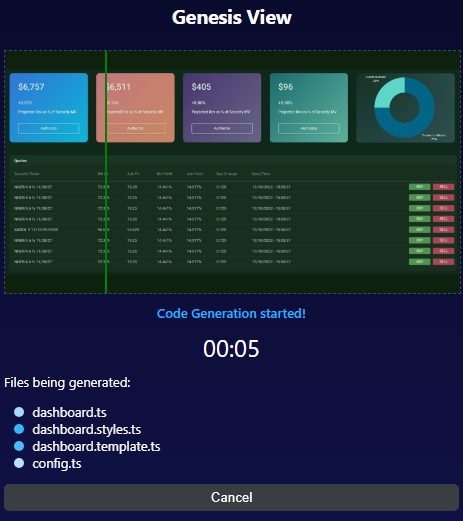
- When the Generation Complete screen is displayed, you can import the generated files into your project.
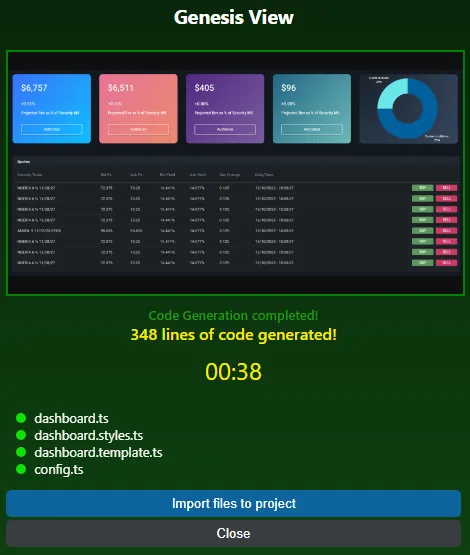
The components are generated separately from the main screen (for code modularity):
And that's it! You now have a new UI page.
Genesis routes and components
The Components tab enables you to create a new route, component, or component with data source.
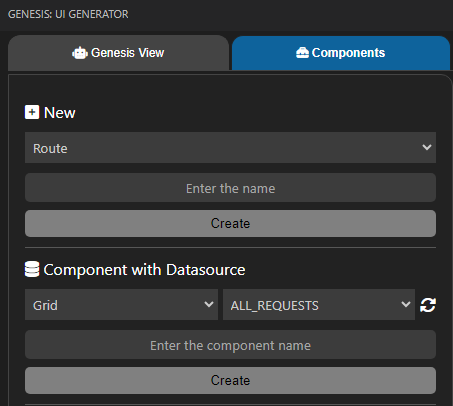
New
To enter a new route or component:
-
Select
RouteorComponent. -
Enter a suitable name, then click on
Create.
- New routes are created under the folder
routesand declared in theconfig.tsfile. - New components are created under the folder
componentsand declared in thecomponents.tsfile. - Note that React or Angular are not supported.
Component with Datasource
To create a grid or a chart with a datasource plugged into the back end:
-
Select whether you want a grid or a chart.
-
Enter a suitable name, then click on
Create.
All the queries (data sources) available are identified by the AI and will be loaded for the user to pick up.
When you click on Create, all necessary files will be created automatically in the correct folder.
Genesis Design System Configurator
To start the Genesis Design System Configurator, click on the Genesis Design System Config button.
This starts a terminal process that runs the Genesis Design System Configurator. A new VS Code file opens with the Design System Configurator inside it. If this doesn't appear the first time, click on Reload DSConfig.
HTML Catalog
Within Genesis UI Generator, there is a section with buttons for different Genesis HTML components.
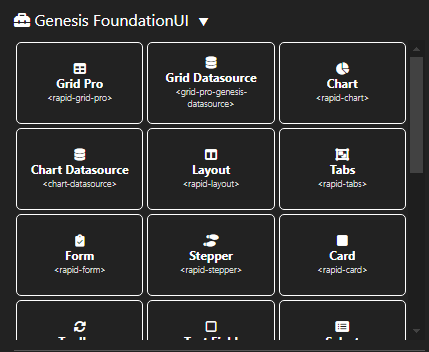
To add a component, place your cursor inside the HTML code editor and click on the required component. This inserts the code snippet into your HTML code.
Snippets
Genesis UI Generator includes Genesis HTML and TypeScript snippets.
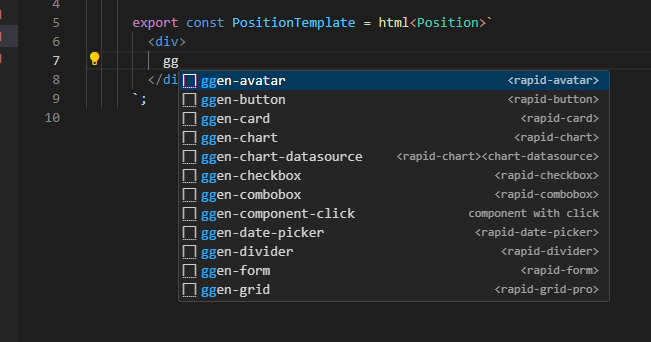
Simply type ggen inside the code editor to display the snippets list:
- Snippets for HTML
- Snippets for TypeScript
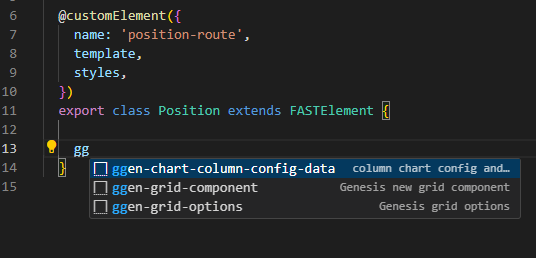
Type gg followed by the first letters of the component you are looking for to filter the list. For example, to add a Genesis layout, type ggla and ggen_layout will be selected.