Genesis Console - Data
This lists all the tables in your data model.
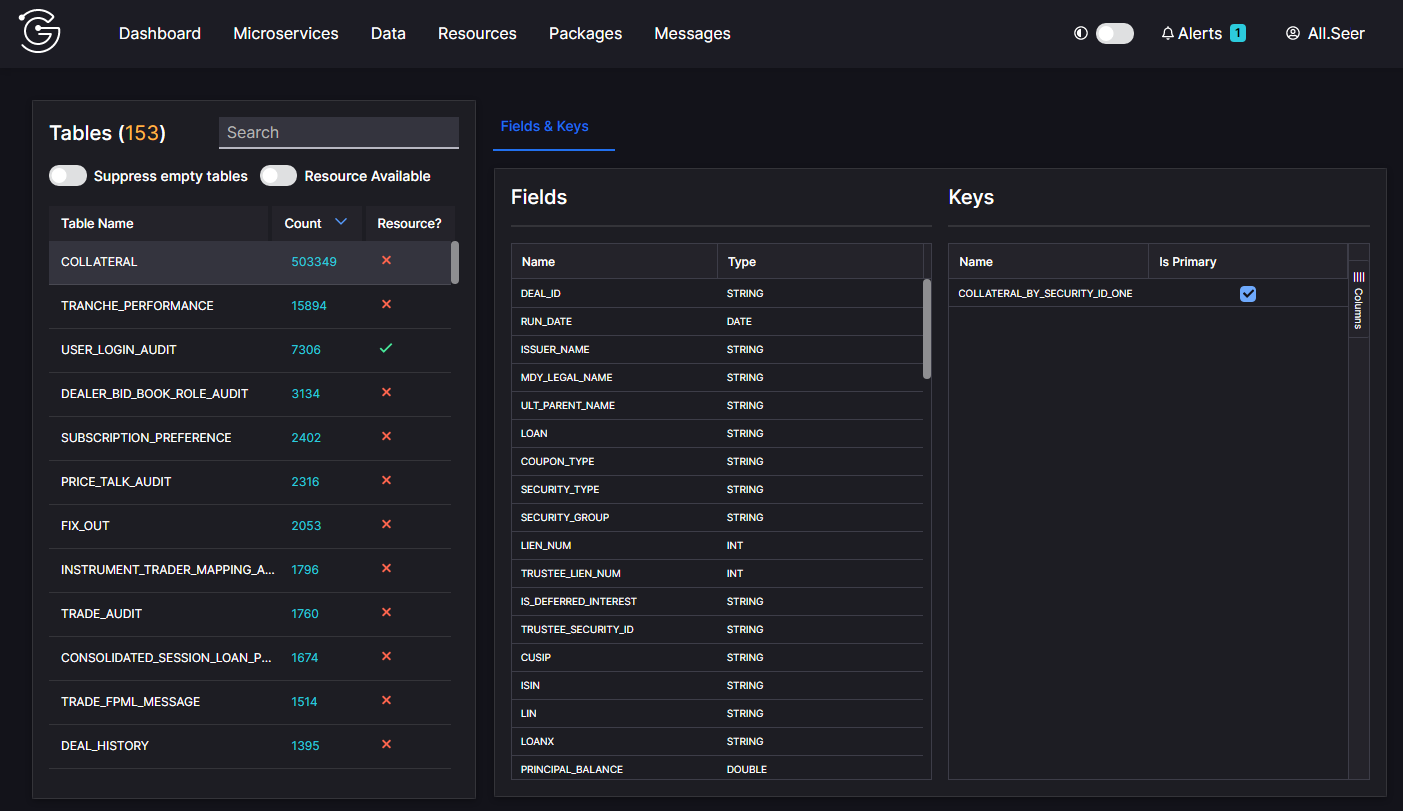
You can control the list of tables on the left in three ways:
- Suppress empty tables removes tables with no data.
- Resource available enables you to view only tables that have resources attached (which publish data to the web UI).
- Search enables you to view only tables that match a keyword that you supply, for example, BID.
For the tables listed:
- The Count column shows the number of records currently in the table.
- The Resource column indicates whether this table is a resource (tick) or not (cross).
You can select a table in the list to view its details in the main panel. There are tabs in this view, enabling you to choose to view either Fields & keys or Data.
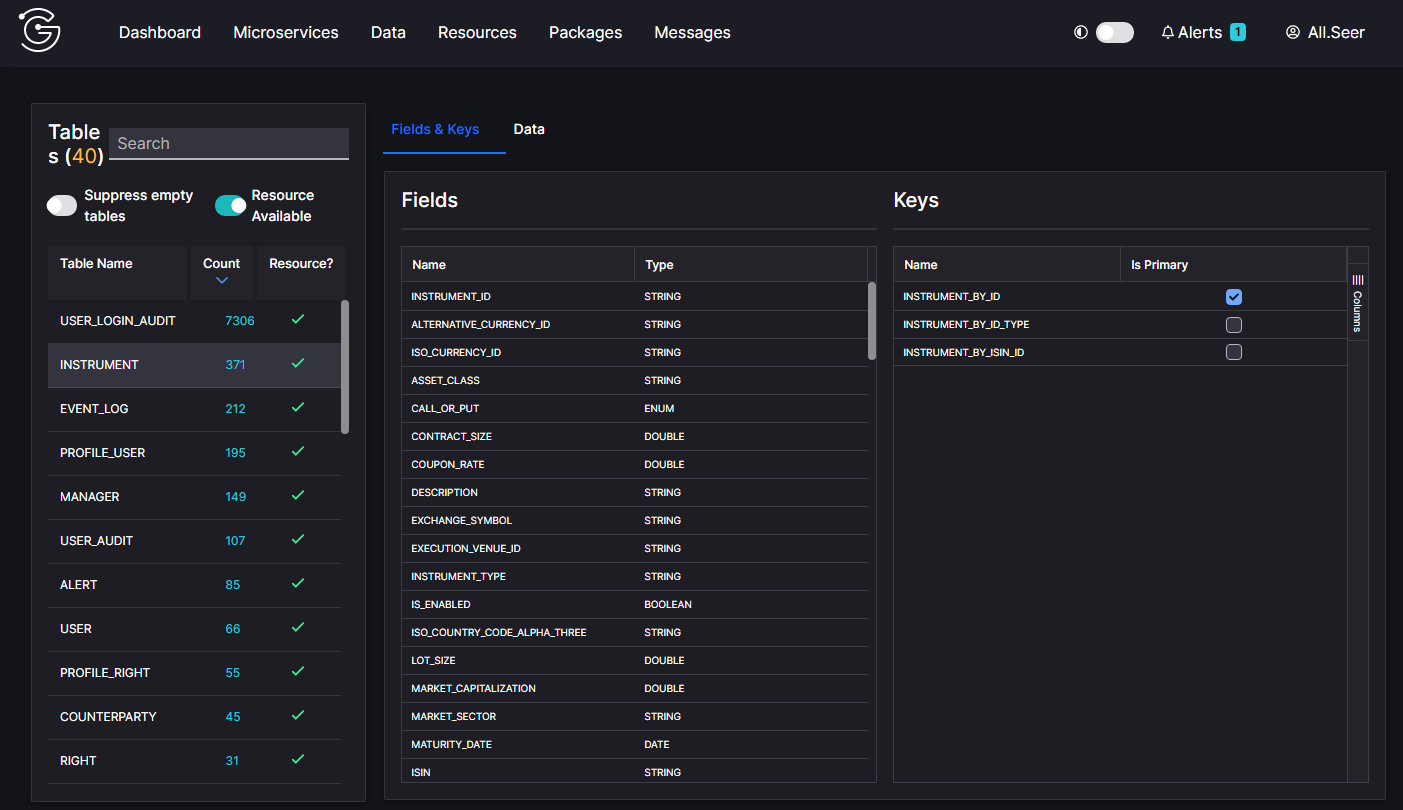
If you select Fields and keys, these are displayed separately in the main panel. So, you can see:
- the name and type of each field
- the primary key or keys for the table. In this example, we have selected the INSTRUMENT table, which currently has 371 records. The primary key for the table is INSTRUMENT_BY_ID.
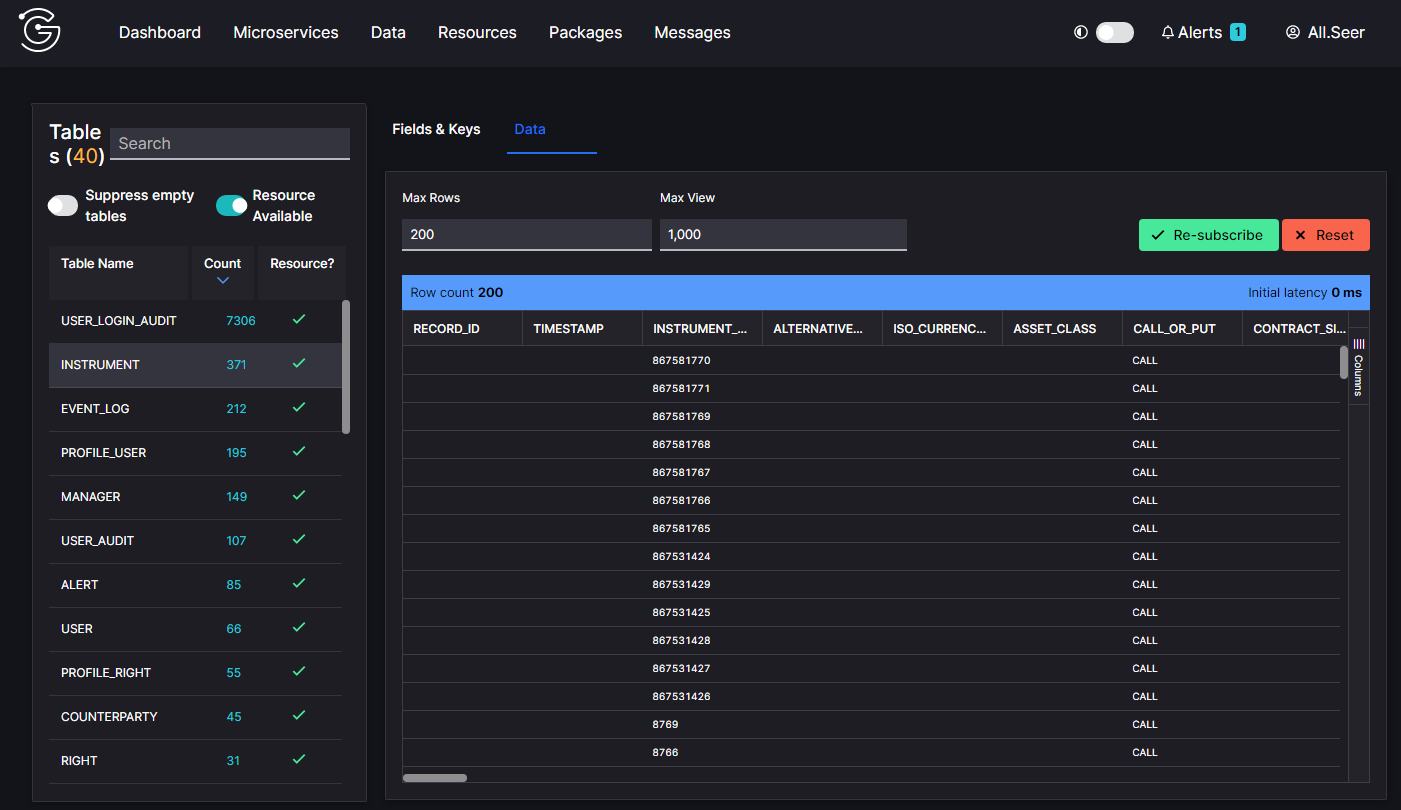
If you select Data, you can see the rows of data that are currently in the table. At the top, you can limit the display to show:
- The maximum number of rows (Max Rows) that will be displayed initially in the log when you subscribe to a column.
- The maximum number of rows (Max Views) that will be displayed in the log at any time. Rows can be added after the initial display. Once the number you set has been reached, each time a new row is added, the oldest row is removed from the display.
Clicking on the Columns link in the far-right margin enables you to select which columns are displayed. Note that if there is a change to that column for a record, you will not see a change in the log.
Subscribing
When you click to view Data for a table, you are connecting to the resource that publishes the data. Your Max Rows and Max View settings control the amount of data that you see. Additionally, you can refine that by specifying field values in the Criteria field, such as a specific counterparty. Specify the field name and the value. You can use logic as well, so this can be quite sophisticated. In this example, we have chosen to view any records where the BUYER_COUNTERPARTY_ID is 6 or the CLO_FORMAT is 144A.
